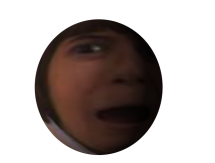
To create a 3D sphere, which is typically used to create a planet, you have to simply import an image into Adobe After Effect, select it and then input the effect CC Sphere
To create a 3D sphere, which is typically used to create a planet, you have to simply import an image into Adobe After Effect, select it and then input the effect CC Sphere
These videos were used as refernece for our kinematic walking videos.
Key points of rotation and movement are the key effectors on a object when it’s moving, for example, the anchor points on an arm in an animation would be on the wrist, elbow and shoulder.
Forward kinematics is wen you move each individual effector one at a time.
Inverse kinematics is when if you pull one of the effectors, it will move all at once.
How to create chain
Download chain link brush to photoshop
Create each chain link on their own layer
When you create the first chain link you should rotate the chain link so it’s horizontal this can be done using the shortcut cmd+T and then rotating
Then simply copy and paste that layer 4 times so you have 4 chain link on 4 different layers, a short cut for this is clicking alt on the layer and then dragging.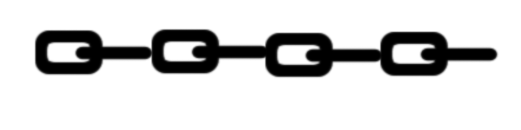
Animators need to understand the two min ideas behind animation:
Movement and timing
Animation follows a linear path.
After effects create in betweens, After effects shows in betweens as small dots on the lines.
The graph editor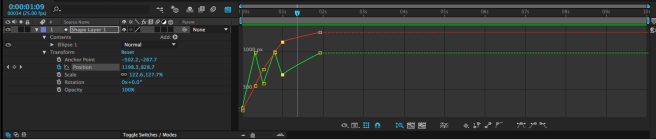 Can be used to control Z, Y and X axis.
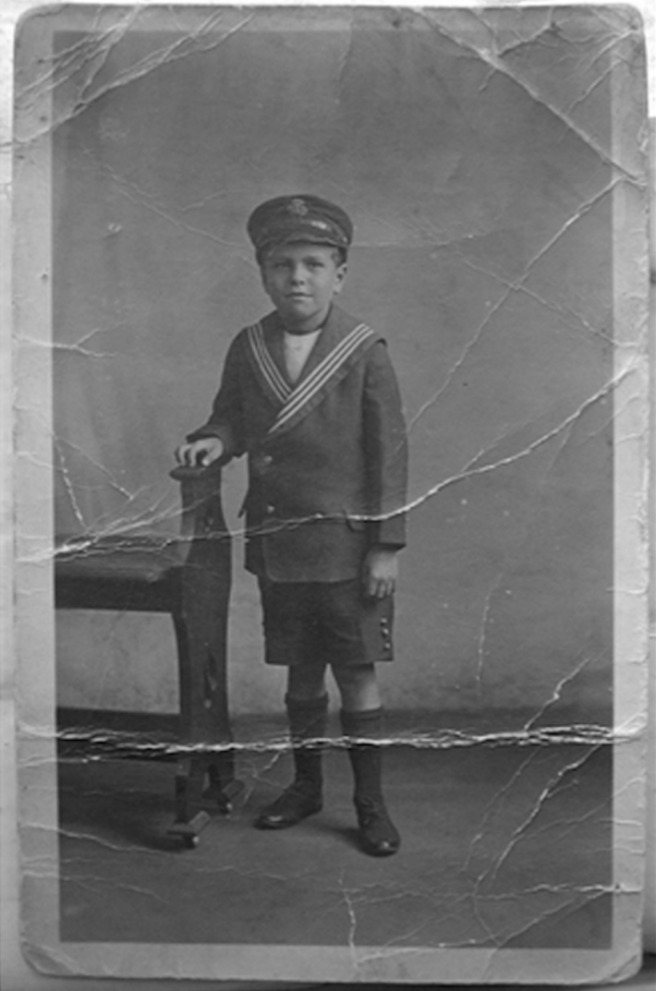
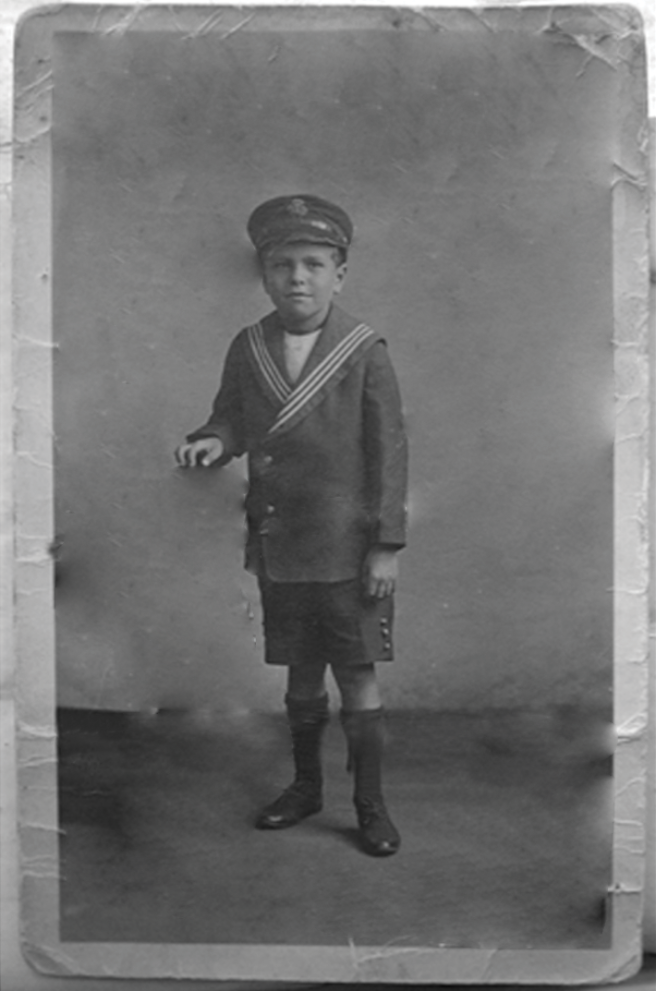
Seen above is the original version of the old picture of a young boy that we were tasked with cleaning up by using the spot healing and clone stamp tool.
This is the cleaned up version of the picture:
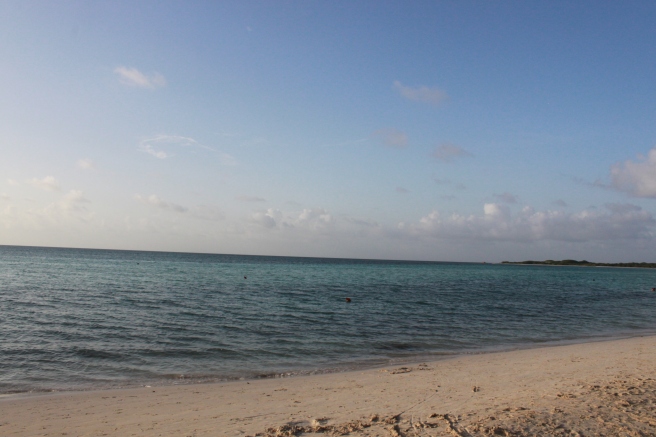
As a part of understanding the clone tool and the healing spot tool we were tasked with cleaning up the beach seen above, this was the result:
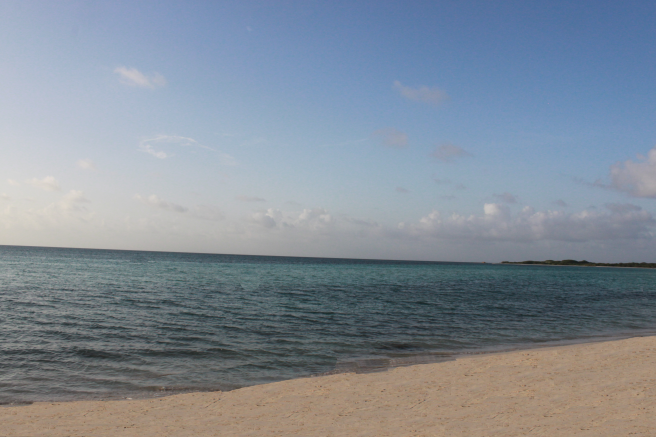
This version of the beach looks much more cleaner, however, multiple parts of the ocean look disjointed and obviously edited together.
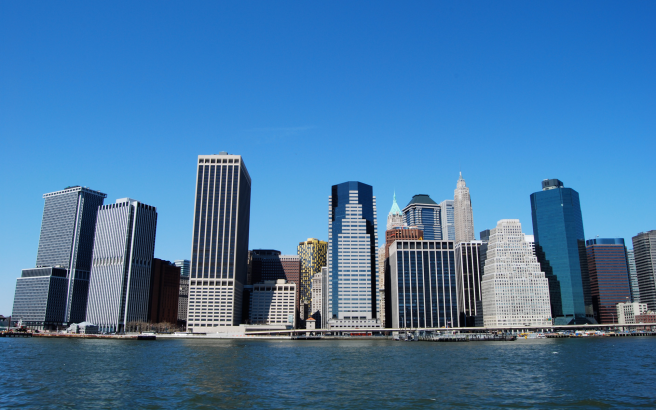 Above we can see a normal blue sky but by selecting around the buildings with a lasso or quick select tool we can select only the sky background and delete it, afterwards we can add a gradient over where the sky had once been, this looks like this:
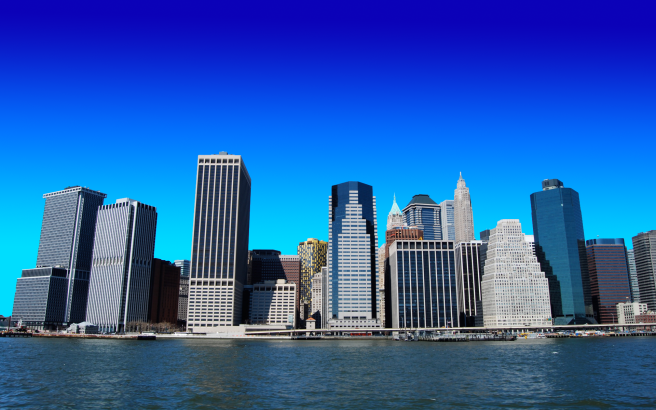
I tried to keep the colours as close as possible.
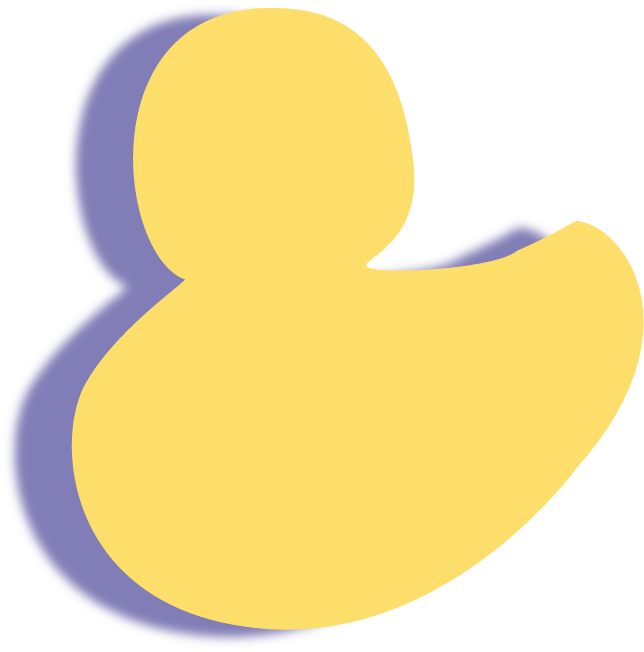
I completed this by outlining the shape of a rubber duck by using anchor points to adjust the shape, I then filled it in using the fill tab
I then added a shadow by copying the duck shape, changing it blue and then adding a blur effect.
In class we had to use the selection tools to create a square, and then overlap it with other shapes. The selection tools available were, rectangle marquee, lasso tool, polygonal lasso tool, quick selection tool and the magic wand tool. I mostly used the rectangle marquee tool though as I wished to keep simple shapes as this was my first attempt at selection on the macs at this college.
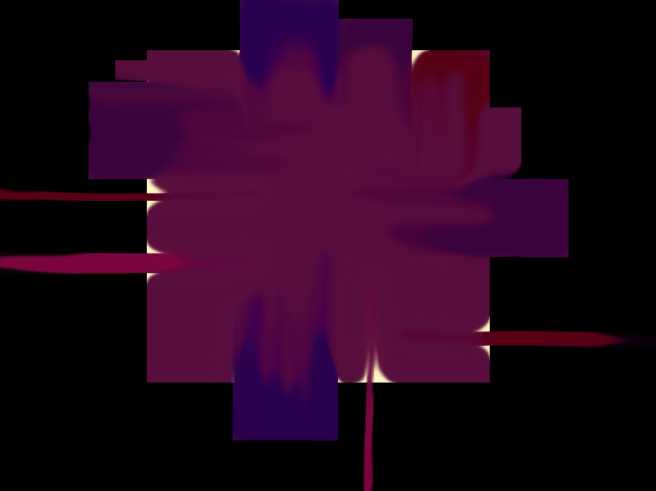
I made a pale yellow and then multiple different coloured rectangles over the top on a different layer, I then used the smudge brush to mix the top layer rectangles together so the pale yellow rectangle was see able.
I feel I could have improved the image by using different types of selection to make more interesting shapes than just rectangles.


On Illustrator you have much more control over the way a piece of text appears unlike on photoshop. You can change both the type and font. The biggest difference is that you can create a shape using the shape tool or the anchor tool and put the text around it by simply clicking the text tool onto the line. To put the text in a curve, as seen above, you just have it follow the line of a path tool.
The second image shows what you can do to a letter once you have expanded it, this is done by simply clicking the expand button under the object heading, you’ll then have anchors on te corners of the shape you can pull and push as you like.
